
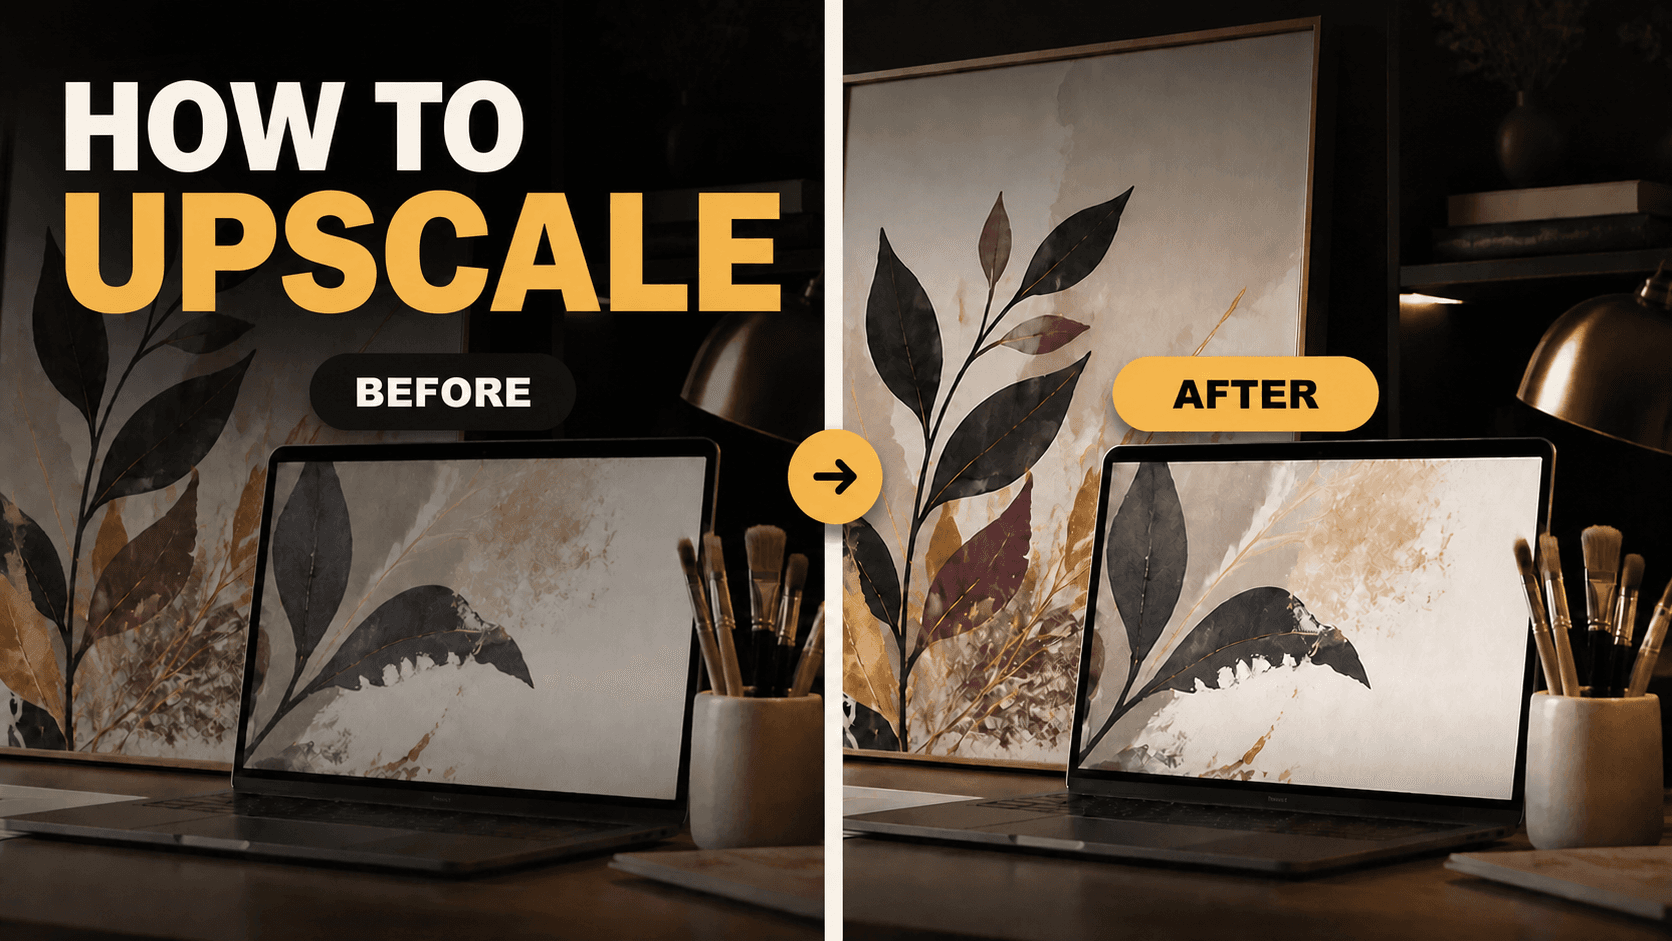
To upscale printable wall art for Etsy, decide the largest print size first, calculate the pixels it needs, and upscale only once from your best master file. Aim for 300 pixels per inch for artwork viewed up close, then inspect the result at 100% zoom before selling it.
For a 16 × 20-inch print at 300 PPI, your file should be about 4,800 × 6,000 pixels. Upscaling can make a small file printable, but it cannot rescue every blurry face, muddy texture, or broken letter. Always check the finished file before adding it to an Etsy download.
This guide shows the simple math, the safest workflow, and the quality checks that help digital wall art look sharp instead of stretched. You can follow it with any editor or use the Krafie Image Upscaler, Image Editor, and Mockup Generator in one workflow.
Start with the print size, not the upscale button
The biggest beginner mistake is upscaling an image without knowing what it needs to become. A file for an 8 × 10-inch print does not need the same dimensions as a 24 × 36-inch poster.
The formula: print width in inches × PPI = pixel width
Example: 16 × 300 = 4,800 pixels. Do the same calculation for the height.
PPI means pixels per inch in the image. People often say DPI, but DPI describes how a printer places ink. For the digital file you sell, PPI is the useful number.
Adobe describes 300 PPI as the standard for high-quality prints. Its printer guidance also notes that around 220 PPI is often enough for high-quality inkjet photo printing. I still use 300 PPI as the simple target for printable wall art because buyers may print it at home and view it closely.
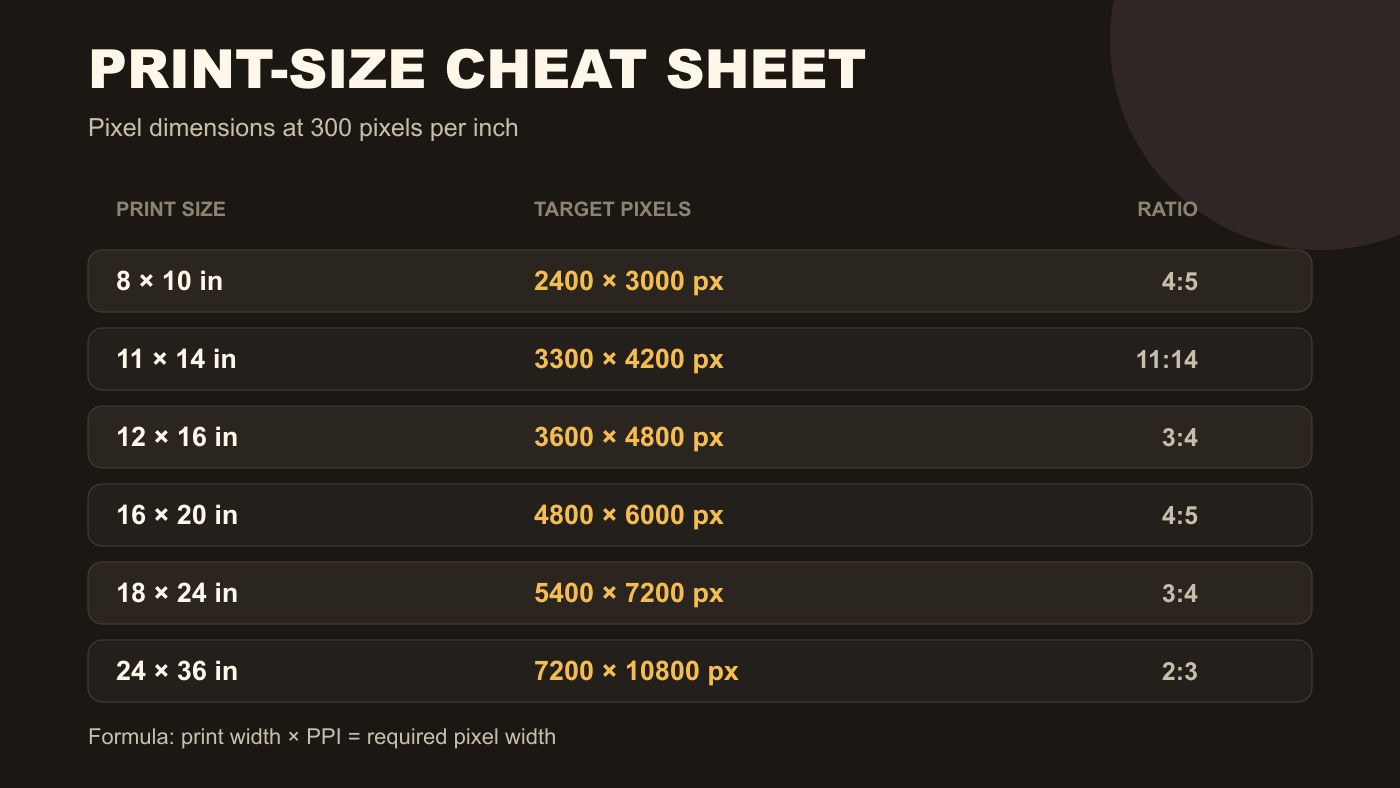
| Print size | Pixels at 300 PPI | Ratio |
|---|---|---|
| 8 × 10 in | 2,400 × 3,000 px | 4:5 |
| 11 × 14 in | 3,300 × 4,200 px | 11:14 |
| 12 × 16 in | 3,600 × 4,800 px | 3:4 |
| 16 × 20 in | 4,800 × 6,000 px | 4:5 |
| 18 × 24 in | 5,400 × 7,200 px | 3:4 |
| 24 × 36 in | 7,200 × 10,800 px | 2:3 |
How to upscale printable wall art without losing detail
Use the best original file
Start with the largest, cleanest version of your artwork. Do not download a social-media preview or repeatedly save a compressed JPG. If the work came from an AI image generator, return to the original generation in your history.
Choose your print ratios
Pick the sizes you plan to include before resizing. Common wall-art ratios include 2:3, 3:4, 4:5, and 11:14. One image cannot fill every ratio without some cropping, so protect important faces, words, and borders from the trim area.
Calculate the largest pixel dimensions
Use the largest print in each ratio set. If your 4:5 bundle goes up to 16 × 20 inches, make the 4:5 master at least 4,800 × 6,000 pixels. You can create the smaller files from that master afterward.
Upscale once
Upload the master to the Krafie Image Upscaler or your preferred upscaler. Choose the smallest enlargement that reaches the required dimensions. A 2× upscale is usually safer than repeatedly enlarging the same file in several passes.
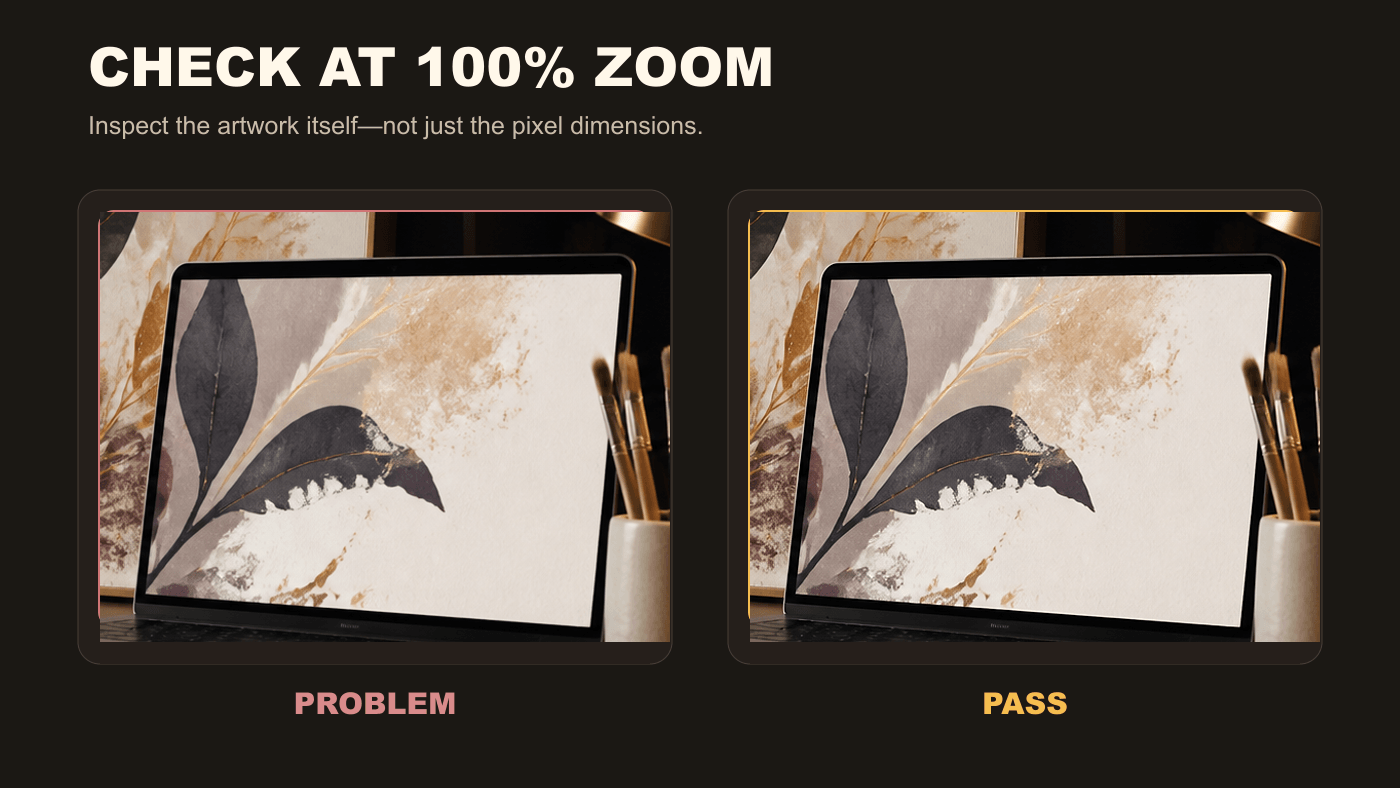
Inspect the image at 100% zoom
Look closely at faces, eyes, hands, fine lines, paper grain, and text. AI upscalers can invent detail that looks convincing from far away but strange when printed. If one important area is broken, repair it before exporting.
Sharpen lightly after resizing
Apply only enough sharpening to restore edge clarity. Heavy sharpening creates bright halos and crunchy textures. If you can clearly see the sharpening effect at normal viewing size, it is probably too strong.
Export and test the final files
Use high-quality JPG for most photographic or textured wall art. Use PNG when transparency or crisp flat graphics matter more than file size. Open every exported file, confirm its pixel dimensions, and print at least one representative size before launch.
What AI upscaling can and cannot fix
An upscaler creates new pixels and predicts missing detail. That can make edges cleaner and textures more convincing, but it does not turn every weak source image into professional print art.
Good candidates: clean illustrations, paintings, simple photography, textures, and AI art with already-correct anatomy.
Risky candidates: tiny screenshots, badly compressed images, damaged typography, blurry faces, and artwork with fine details that were never present in the original.
If the source has a creative problem, edit it first. If it only needs more pixels, upscale it. The order matters.
Package the files so Etsy buyers can use them
Etsy currently allows up to five files per digital listing, with a maximum size of 20 MB per file. Buyers also see the filenames you upload, so use clear names instead of random export strings.
A simple bundle might include:
- 2:3 ratio: for 4 × 6, 8 × 12, 12 × 18, 16 × 24, and 24 × 36 inches
- 3:4 ratio: for 6 × 8, 9 × 12, 12 × 16, and 18 × 24 inches
- 4:5 ratio: for 8 × 10, 12 × 15, and 16 × 20 inches
- 11:14 ratio: for 11 × 14 inches
- International size: an A-series file when the composition allows it
If the files are too large, place the print files in a cloud folder and upload a small PDF with the download link and instructions. Make that delivery method obvious in the listing description and preview images.
Final quality checklist
- Largest size reaches the required pixels
- Aspect ratios are cropped intentionally
- Faces and text pass a 100% zoom check
- No sharpening halos or plastic textures
- JPG or PNG opens correctly after export
- Files stay inside Etsy's upload limits
- Filenames clearly identify each ratio
- At least one representative test print looks clean
Create the full printable wall-art workflow in Krafie
Use the Krafie AI Image Generator to create an original design, the Image Upscaler to reach print dimensions, the Image Editor to prepare ratios, and the Mockup Generator to show buyers how the art looks on a wall.
Research the product first, make the largest clean master, and export the smaller versions from it. That keeps the workflow faster and the files more consistent.
Related Krafie Guides