
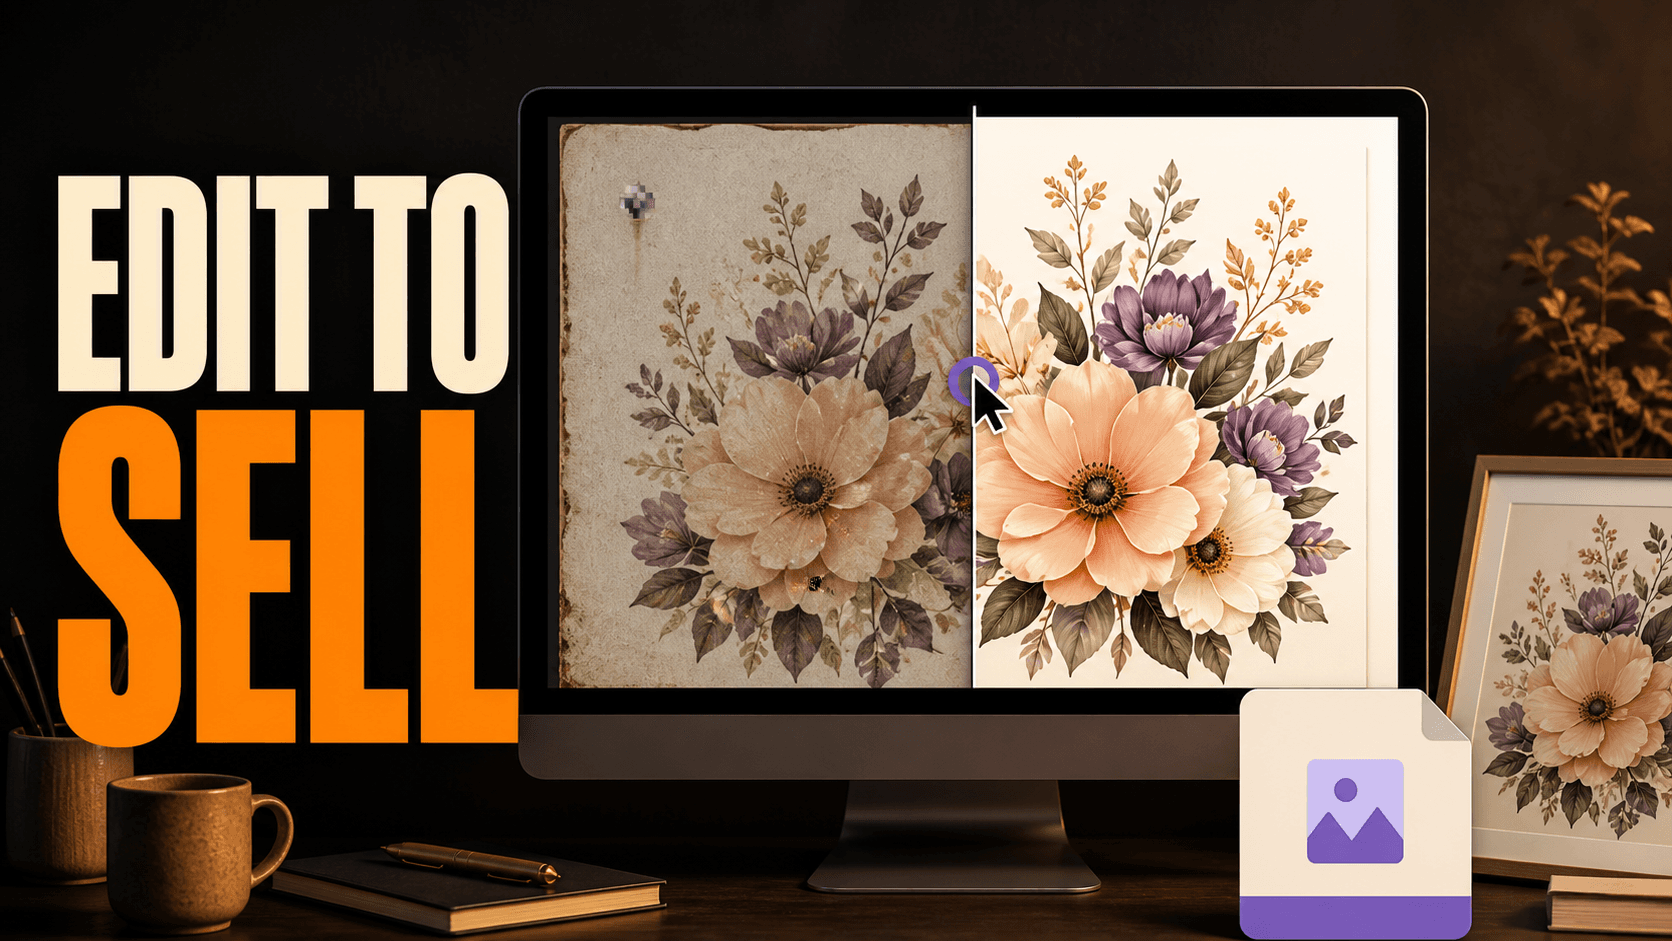
A strong AI image is not automatically a sellable Etsy download. Before listing it, inspect the image at full size, repair visible mistakes, set the correct canvas, upscale only after editing, export clean buyer files, and create separate listing previews. That simple order prevents most quality problems.
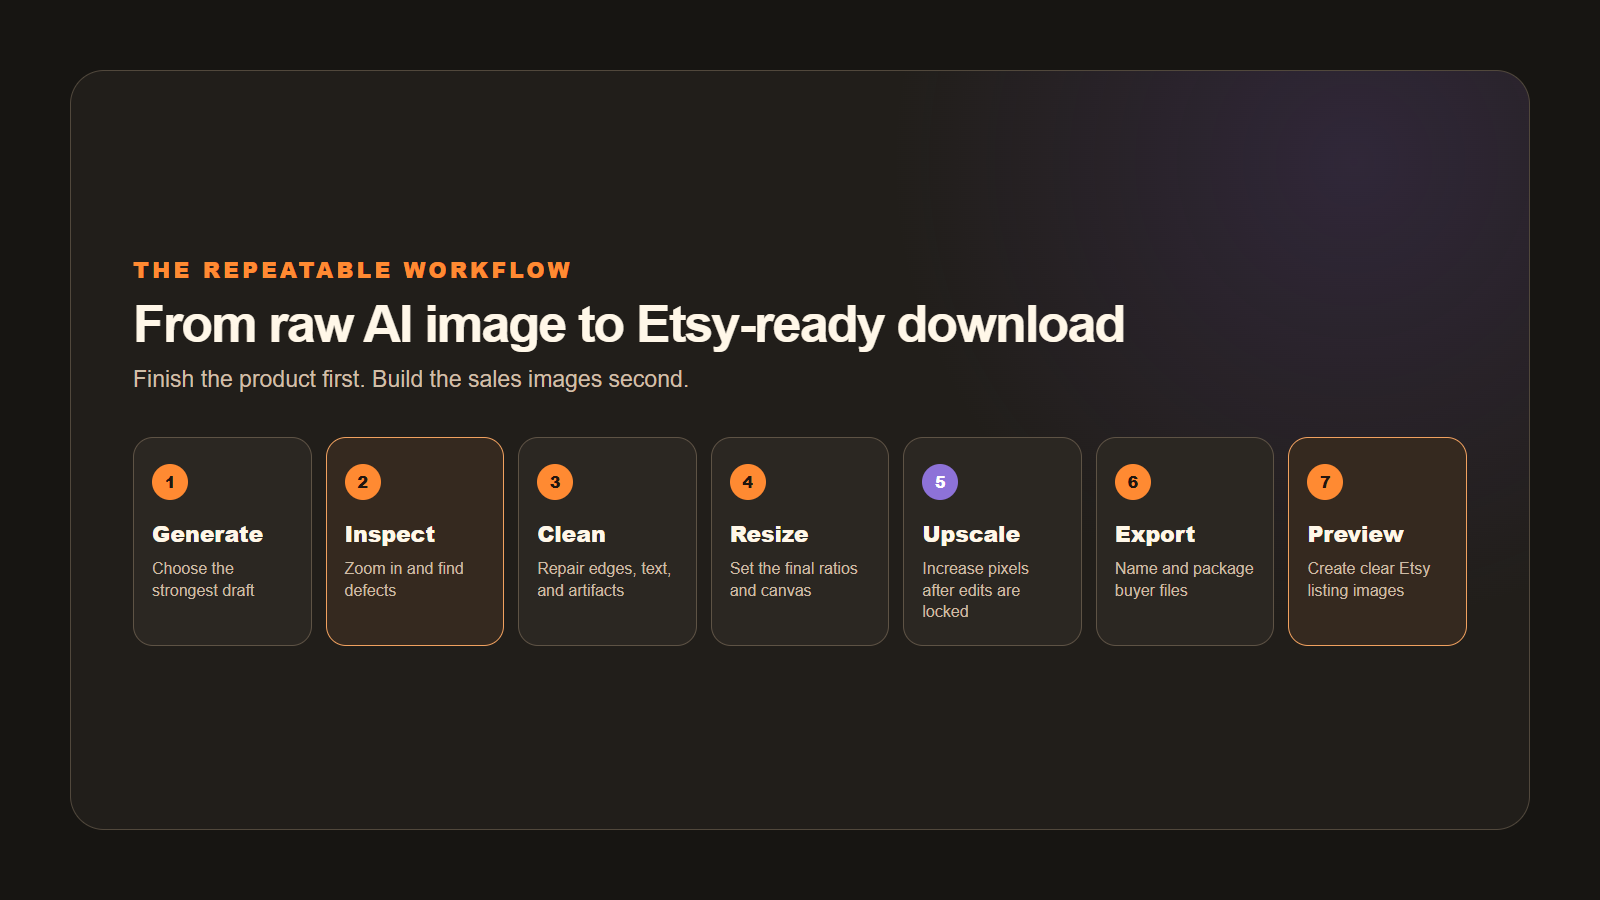
Generate → inspect → clean → resize → upscale → export → preview. Finish the product file before you build mockups or listing images. Otherwise, you may advertise a design that does not match the file your customer receives.
This guide is for beginners making wall art, clipart, printable pages, PNG designs, or other AI-assisted Etsy downloads. It focuses on the editing stage between “the image looks promising” and “the product is ready to upload.”
Why AI images need an editing pass
AI image generators can produce a beautiful first draft while hiding small defects. A leaf may merge into a flower. A border may be uneven. Decorative text may contain one wrong letter. These mistakes are easy to miss in a small preview and obvious after printing.
The goal is not to make every design perfect. The goal is to make the file clear, intentional, and suitable for the way the buyer will use it.
The 7-step AI image editing workflow
1. Choose one strong draft
Do not edit every generation. Compare your options and choose the image with the best composition, subject, and overall style. Small defects are repairable; a weak idea usually is not.
Open the file in the Krafie AI Image Generator history or your preferred editor. Keep the original untouched so you can return to it if an edit makes the image worse.
2. Inspect it at 100% and 200%
Zoom in and slowly scan the whole canvas. Look at faces, hands, letters, repeated patterns, borders, shadows, and small objects. If the design will be cut with a Cricut or printed large, pay extra attention to edges.
- Check whether any object melts into the background.
- Read every word and punctuation mark.
- Look for duplicated petals, fingers, buttons, or decorations.
- Inspect corners for stray pixels, noise, and accidental marks.
- Make sure the design has comfortable margins.
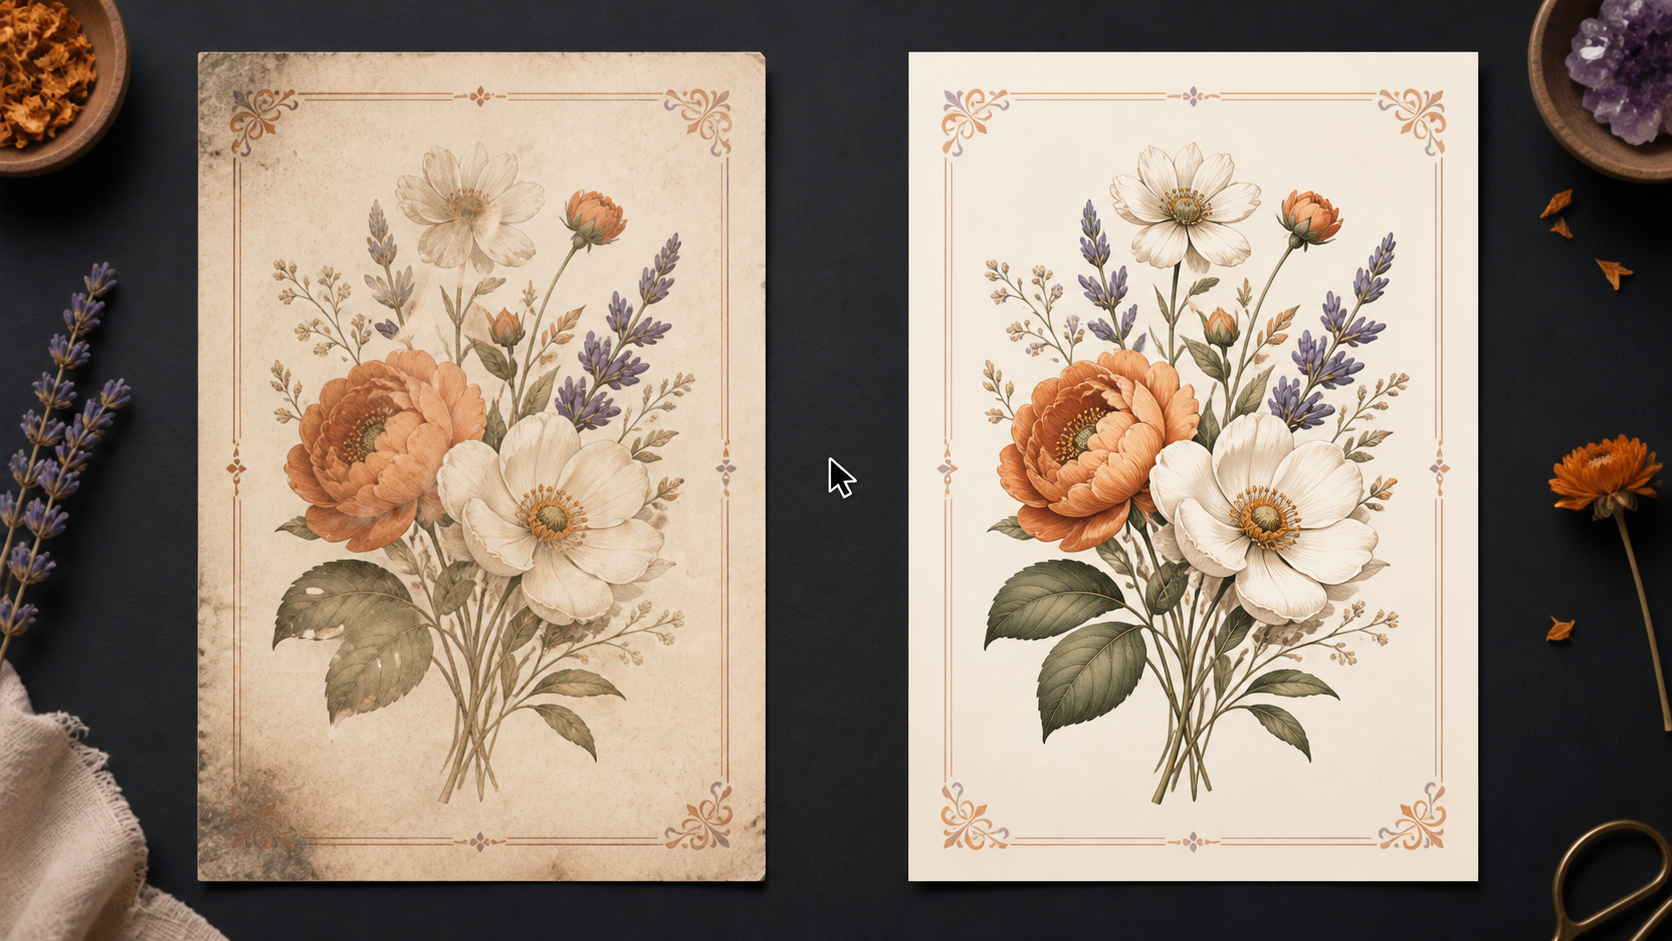
3. Repair the visible problems
Make targeted edits instead of regenerating the whole image. In the Krafie Image Editor, you can crop, arrange elements, adjust the canvas, and work with assets from your history. For AI edits, describe one change at a time so you can judge whether it helped.
If the image contains important text, verify it manually after every edit. For products where exact wording matters, adding the final text in an editor is usually safer than asking the image model to recreate it repeatedly.
Do not copy a competing listing. Use market research to understand a product type or customer need, then create an original design. Etsy allows seller-prompted AI creations, but its Creativity Standards require sellers to disclose AI use in the listing description.
4. Set the final size and aspect ratio
Decide what the customer is buying before you upscale. A printable wall-art bundle may include 2:3, 3:4, 4:5, and ISO paper ratios. A transparent shirt design may need one large PNG. A journal kit may be organized as US Letter and A4 PDFs.
Changing the ratio after upscaling can waste pixels or crop important details. Lock the composition first, then create each promised size from that approved master.
Pixels matter more than a DPI label. To estimate printable size, divide the pixel width and height by your intended pixels per inch. For example, 3600 × 5400 pixels supports a 12 × 18 inch print at 300 pixels per inch.
5. Upscale after the edits are finished
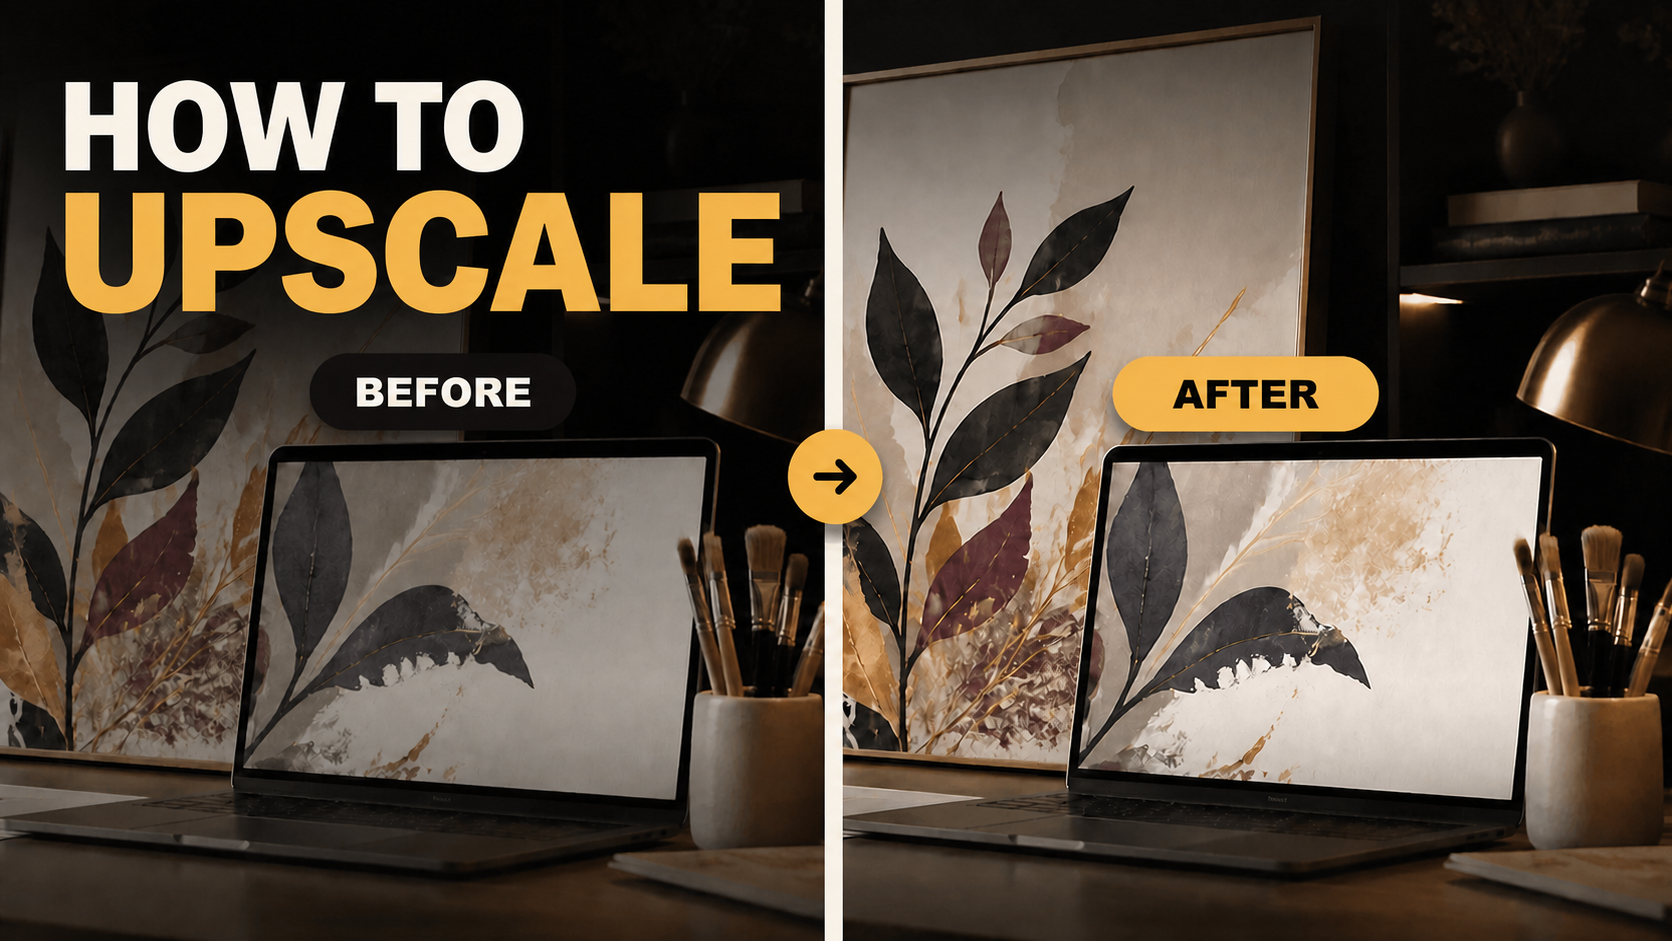
Upscaling should be near the end. If you upscale first and then make large edits, the new areas may not match the rest of the image. Use the Krafie Image Upscaler after the composition, text, borders, and ratios are final.
Check the enlarged version again. Upscaling can reveal texture problems or sharpen defects you did not notice earlier. If printable wall art is your main product, follow the more detailed guide to upscaling printable wall art for Etsy.
6. Export and package the buyer files
Etsy currently lets sellers upload up to five digital files per listing, with a maximum size of 20 MB per file. Accepted formats include PNG, JPG, PDF, and ZIP. Choose the format based on the product, not simply what is easiest to export.
- PNG: useful for transparent clipart and shirt graphics.
- JPG: practical for flattened printable art without transparency.
- PDF: useful for printable pages and instructions.
- ZIP: useful when a bundle contains several organized files.
Name files clearly because buyers can see those names. Etsy says filenames can contain up to 70 alphanumeric characters plus periods, underscores, and hyphens. Test every file after export and open the final ZIP on a different device if possible.
7. Create separate Etsy listing images
Your downloadable product file and your Etsy listing photos have different jobs. The product file must be useful. The listing photos must explain what is included and help the buyer imagine using it.
Etsy recommends listing images around 2000 pixels or more and says the first photo should clearly show one finished product rather than a collage. Use the Krafie Mockup Generator to show the design in context, then add separate slides for sizes, file formats, printing, and the “digital download only” notice.
Do not use a transparent PNG as an Etsy listing photo. Etsy notes that transparent areas can appear black on the listing page. A transparent PNG can still be the product file when transparency is what the buyer needs.
Final quality check before listing
- The design is original and AI use is disclosed.
- Every word is spelled correctly.
- No malformed objects or stray marks remain.
- Each promised ratio is included.
- Large files were inspected after upscaling.
- Buyer filenames are clear and organized.
- ZIP and PDF files open correctly.
- Listing photos match the delivered product.
For current platform limits, check Etsy's digital listing file guide. For listing-photo sizes and transparency guidance, use Etsy's image requirements. Both were checked in August 2026.
Edit the whole product in Krafie
Krafie brings the main steps into one workflow: generate the image, edit the layout, remove a background, upscale the final file, and build product mockups without moving between several subscriptions.
Start with the AI Image Generator, finish the file in the Image Editor, and use the Image Upscaler only after your design is ready.
Related Krafie Guides