
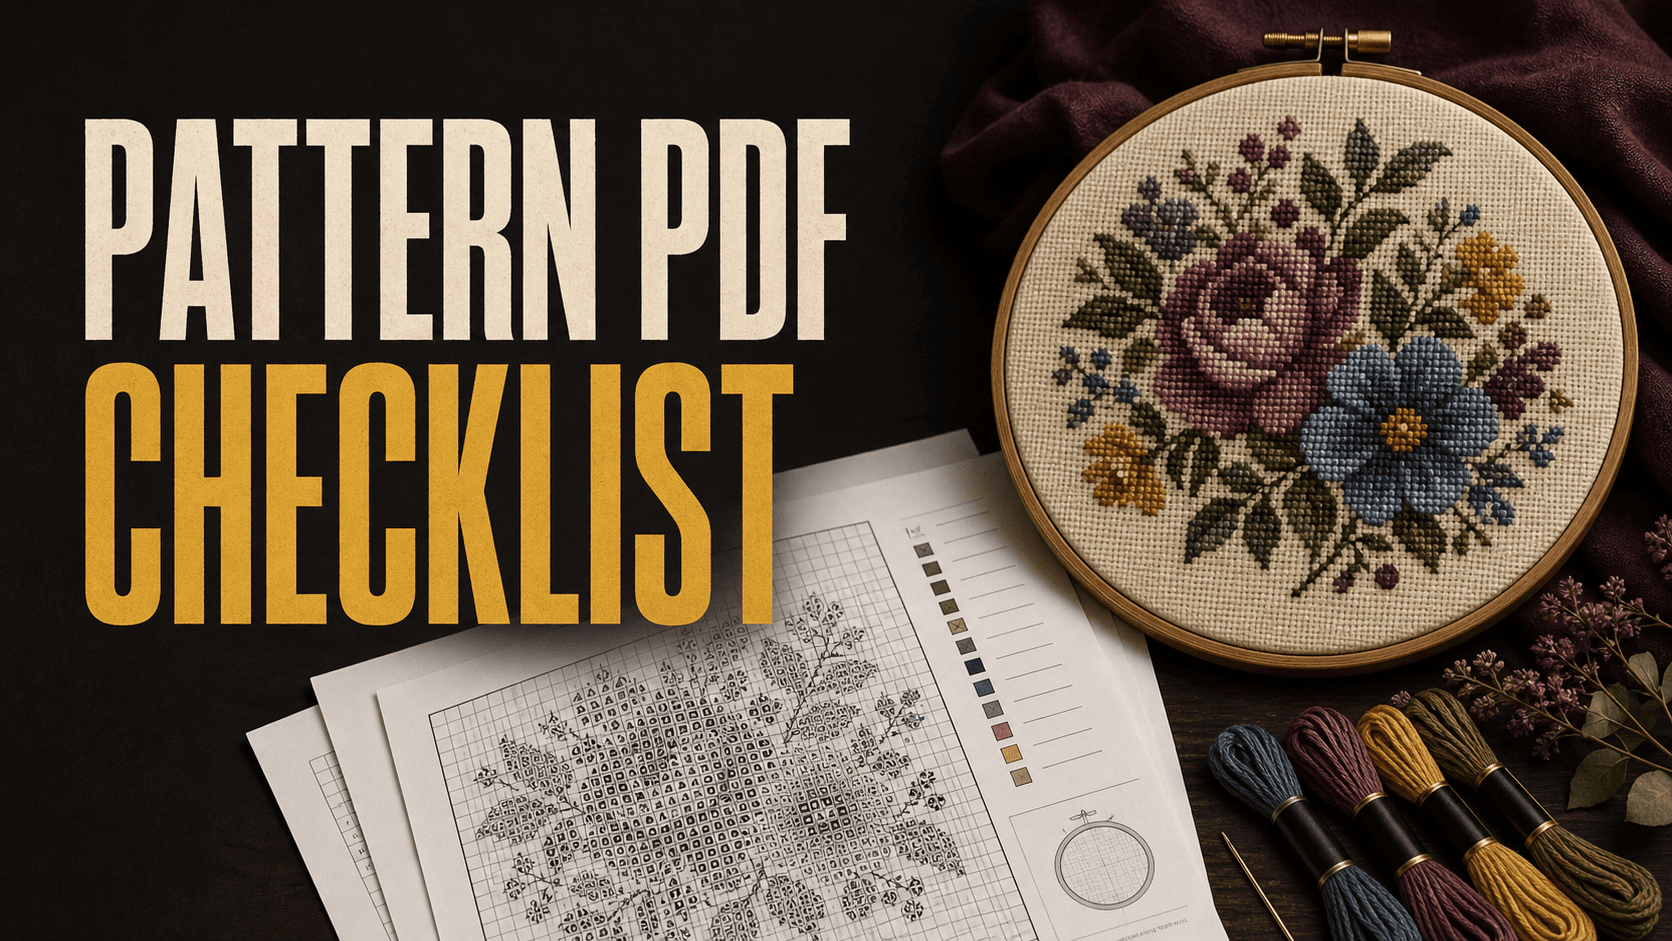
A useful cross-stitch pattern PDF should give the buyer everything needed to start stitching without sending you a message. At minimum, include a finished preview, stitch dimensions, fabric guidance, a floss list, a symbol key, a readable chart, basic instructions, and clear usage terms.
Include these eight parts: cover preview, design size, fabric count, materials, floss and symbol key, full chart, stitch instructions, and license/support details. For larger designs, add a tiled chart and a separate black-and-white version for printing.
This checklist is for creators who already have a pattern and want to turn it into a polished digital download. If you still need to make the pattern itself, start with the complete Krafie cross-stitch pattern workflow.
What every cross-stitch pattern PDF should include
- Cover and finished previewShow what the completed design should look like.
- Pattern specificationsList stitch width, stitch height, finished sizes, color count, and suggested fabric.
- Materials listTell the buyer what fabric, needle, hoop, and floss they need.
- Floss and symbol keyMatch every chart symbol to a thread brand, color code, and stitch type.
- Readable pattern chartUse crisp symbols, numbered grid lines, center marks, and enough contrast.
- Tiled chart for large designsSplit oversized charts into printable pages with overlap and page numbers.
- Stitching instructionsExplain strand counts, full stitches, backstitch, and specialty stitches.
- License and supportState how the file may be used and how the buyer can contact you.
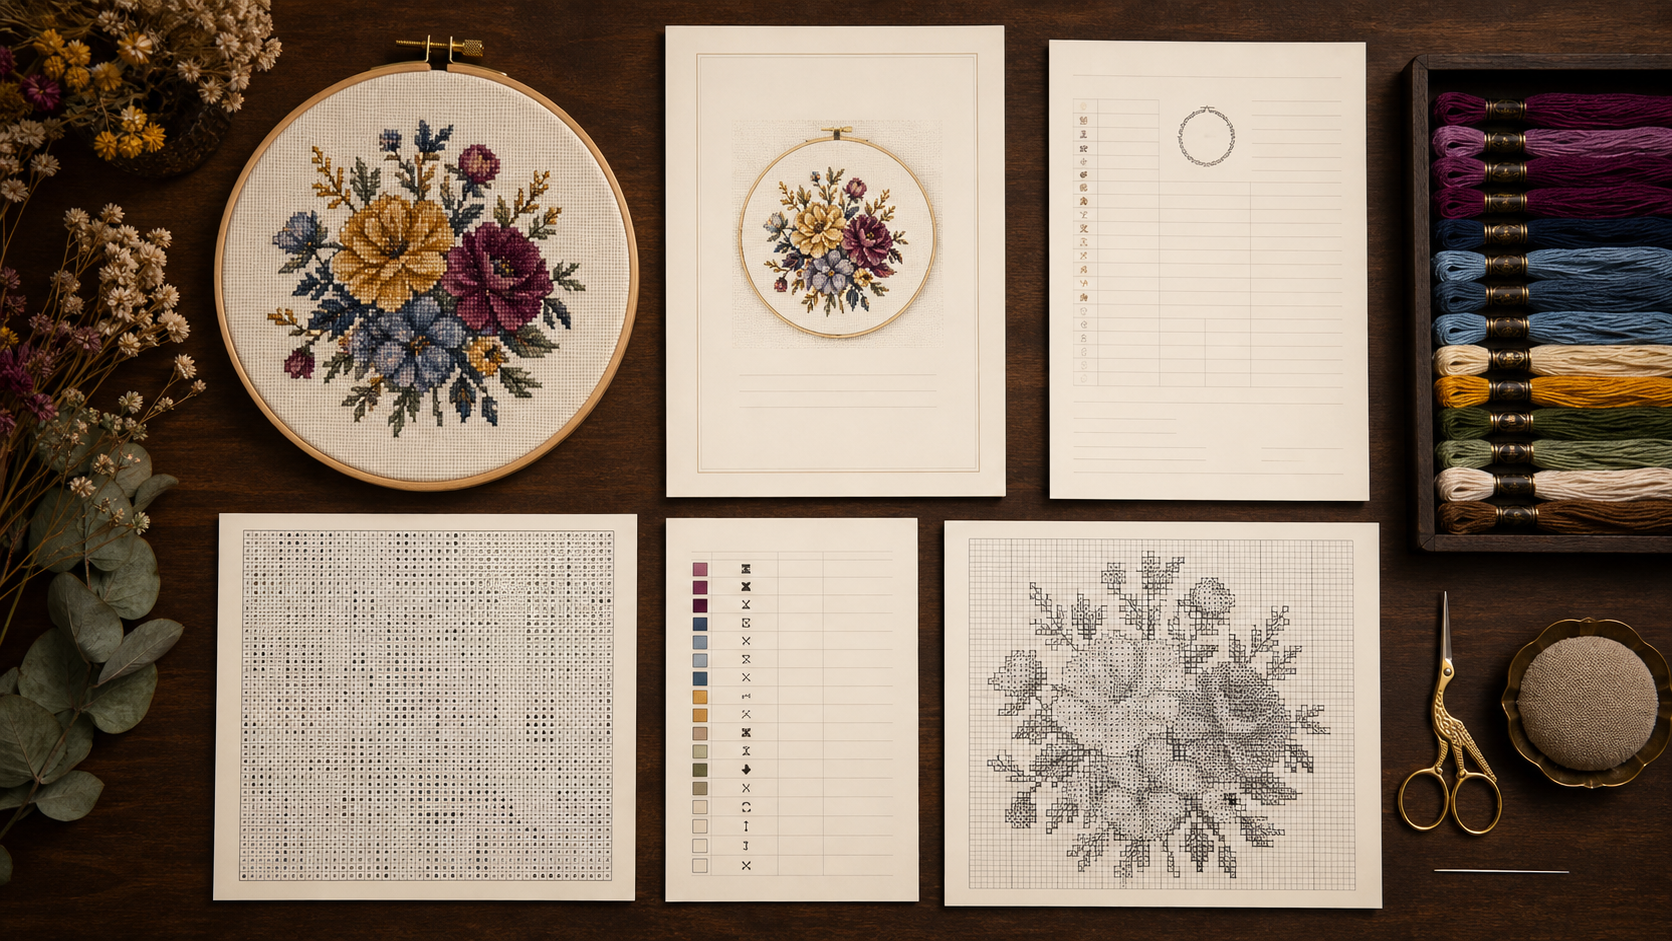
1. Start with a useful cover page
The first page should help the buyer confirm that they opened the correct pattern. Keep it simple: show the pattern name, a large finished preview, your shop or designer name, and a short summary such as “full cross stitch with backstitch.”
A real stitched sample is the strongest preview because it proves that the design works on fabric. If you use a digital simulation instead, label it honestly so the buyer does not mistake it for a photographed finished piece.
2. List the design size clearly
Do not give only the finished size in inches. Fabric count changes the physical size of the same chart, so include the design's stitch width and height first.
Finished size formula: number of stitches ÷ fabric count = inches
A 100-stitch-wide design measures about 7.14 inches on 14-count fabric, 6.25 inches on 16-count, and 5.56 inches on 18-count.
| Include | Example | Why it matters |
|---|---|---|
| Stitch dimensions | 140 wide × 180 high | Works with any fabric count. |
| Finished sizes | 10 × 12.86 in on 14-count | Helps buyers choose fabric and a frame. |
| Suggested fabric | 14-count white Aida | Gives beginners a safe starting point. |
| Extra fabric | Add 2–3 inches per side | Leaves room for a hoop and finishing. |
Make it obvious that the finished dimensions describe the stitched area. The buyer still needs extra fabric around the design for stitching and framing.
3. Build a complete materials and floss list
A beginner should not have to reverse-engineer the supplies from your chart. List the suggested fabric, needle size, hoop or frame size, number of floss strands, and any optional finishing materials.
Your floss key should include:
- a distinct symbol for every color
- the thread brand and color number, such as DMC 310
- the color name
- the stitch type: full stitch, half stitch, backstitch, or French knot
- an estimated skein amount when practical
Make the symbols different, not merely similar. A filled square, empty square, circle, triangle, plus sign, and diagonal line are easier to separate than six small variations of the same dot.
4. Make the chart easy to print and mark up
The pattern chart is the part buyers use for hours, so readability matters more than decoration. Use a clear 10-by-10 grid, number the rows and columns, mark the horizontal and vertical center, and keep symbols large enough to distinguish on ordinary printer paper.
DMC's guide to reading a cross-stitch chart notes that many stitchers print a black-and-white copy and highlight completed areas. A color chart can be helpful on screen, but a separate high-contrast symbol version makes the download more practical.
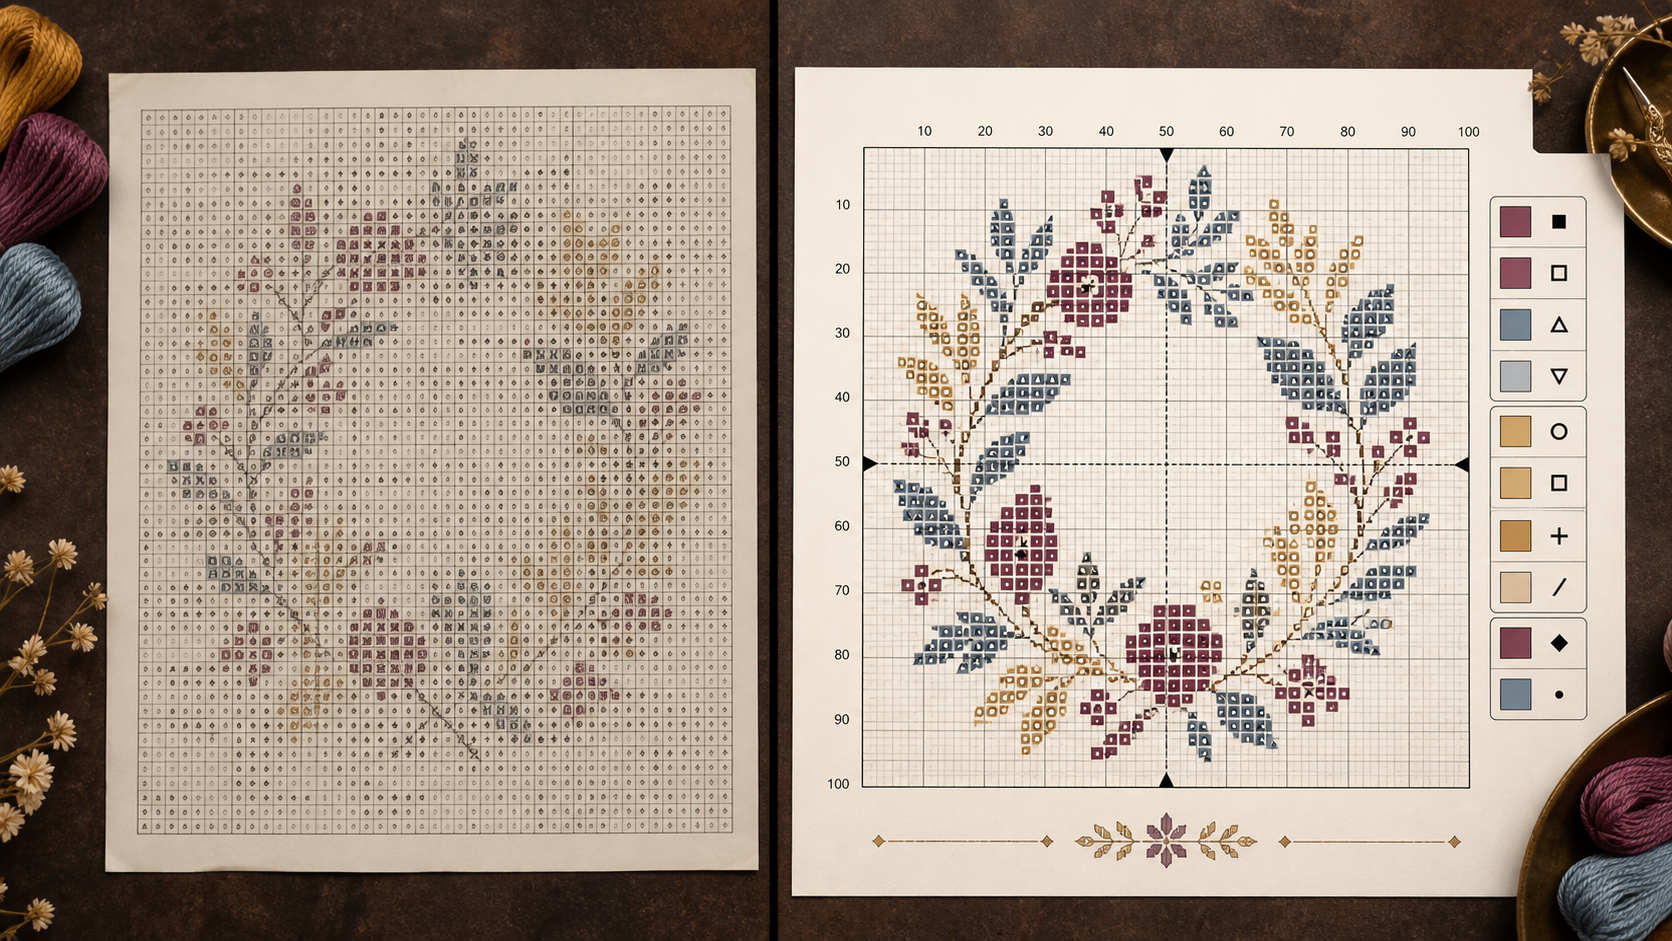
For large patterns, add tiled pages
When the full chart becomes too small on one sheet, give the buyer a multi-page version. Every page should have a number, a small overlap with the next page, and visible coordinates so the stitcher can see where one sheet continues.
A strong package can include both:
- a one-page overview for orientation
- a large-print tiled chart for actual stitching
5. Explain special stitches before the chart begins
If the design uses only full cross stitches, say so. If it includes backstitch, French knots, half stitches, blended threads, or fractional stitches, explain the symbols and strand counts before the buyer reaches the chart.
Keep instructions short. A one-page legend with a small diagram is usually more useful than several pages of generic cross-stitch history.
6. Add clear license and support details
Your PDF should answer three practical questions: May the buyer share the file? May they sell a finished stitched item? How can they reach you if a symbol or page is unclear?
A simple final page can include:
- personal-use or small-business usage terms
- a reminder not to redistribute the PDF
- your shop name and support email
- a version number or update date
Only promise commercial permissions that you actually intend to grant. If the artwork includes licensed material, do not assume you have the right to sell a pattern based on it.
How to package the files for Etsy
According to Etsy's digital listing guidance, an instant-download listing can include up to five files, with a maximum size of 20 MB per file. Etsy also says digital items must be made or designed by the seller.
A practical five-file package could look like this:
- Main pattern PDF: cover, specifications, key, chart, and instructions.
- Large-print PDF: tiled chart with bigger symbols.
- Black-and-white PDF: printer-friendly symbol chart.
- Quick-start PDF: materials, sizes, and printing notes.
- Optional compatibility file: only if you have tested it in the named app or format.
If one PDF exceeds 20 MB, compress the images or split the package logically. Use filenames that explain what each download contains, because buyers see those names.
Common PDF mistakes that create support messages
- Symbols are too small
- Similar symbols sit next to each other
- The chart has no numbered grid
- Center marks are missing
- Only a color chart is provided
- Finished dimensions are incorrect
- Strand counts are not explained
- Tiled pages have no overlap
- The preview is not labeled accurately
- The PDF was never test-printed
Before listing, print at least one chart page on a normal home printer. If you cannot comfortably distinguish every symbol at arm's length, enlarge the chart or reduce the number of symbols shown per page.
Build the pattern package in Krafie
Use Krafie Cross Stitch Studio to turn an image into a downloadable pattern PDF and preview image. Then use the Mockup Generator for listing visuals and the Listing Optimizer (Etsy format) to prepare the title and tags.
The generator gives you a starting file. This checklist is the final quality pass that turns it into a product a beginner can actually use. See Krafie plans and start creating.
Final PDF quality check
- Finished preview matches the chart
- Stitch count and sizes are correct
- Every symbol appears in the key
- Floss numbers and strand counts are clear
- Chart is readable in black and white
- Large patterns include tiled pages
- All PDF pages open correctly
- Usage terms and support details are included
If all eight checks pass, the buyer should be able to download, print, shop for supplies, and begin stitching without guessing.
Related Krafie Guides