
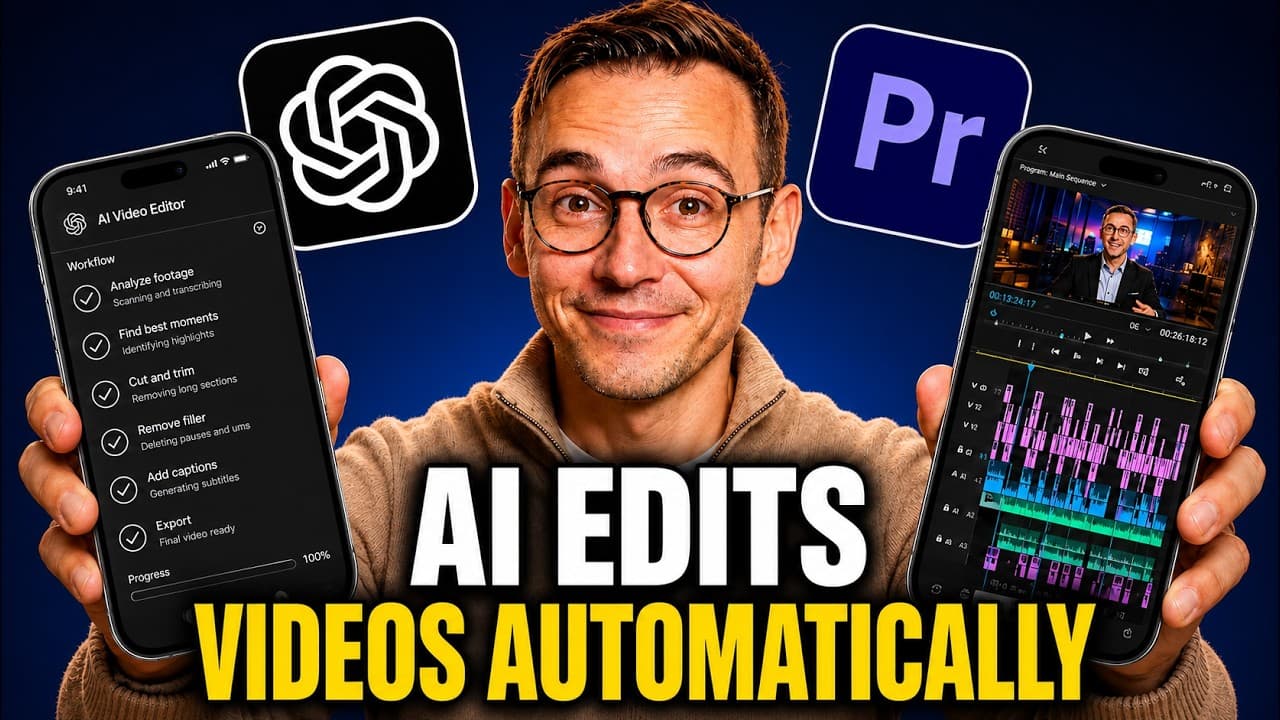
I gave Codex access to an Adobe Premiere Pro project and asked it to cut pauses, remove repetition, add zooms, and build motion graphics. It shortened one long-form sequence from 16:22 to 10:37 and helped edit a separate 23-minute YouTube project—but the useful part was not “one-click editing.” It was the review-and-feedback loop.
Codex controls the workflow, the community-built Premiere Pro MCP bridge gives it access to Premiere, and HyperFrames creates animations and graphic overlays. You still review every cut before export.
Watch the full Codex and Premiere Pro tutorial on YouTube.
How to edit videos with Codex and Premiere Pro
The basic workflow is simple:
- Connect Codex to Premiere Pro.The MCP bridge translates agent requests into Premiere actions.
- Ask for a conservative first cut.Remove silence and obvious repetition without destroying sentence logic.
- Watch the result yourself.Note bad cuts, missed pauses, and places that need visual interruption.
- Send timestamped corrections.Small, specific feedback beats asking the agent to “make it better.”
- Add motion graphics with HyperFrames.Use graphics where they support the explanation—not every few seconds.
- Save the rules for the next edit.Turn what worked into a reusable Markdown brief.
The two open-source resources used in the tutorial
Both repositories are free and open source. Your broader setup may still require paid software or subscriptions, including Adobe Premiere Pro and whichever Codex plan you use.
1. Install and verify the Premiere Pro bridge
The current Premiere MCP repository recommends installing its package globally, installing the CEP bridge, and running its diagnostic command:
npm install -g adobe-premiere-pro-mcp
premiere-pro-mcp --install-cep
premiere-pro-mcp --doctor
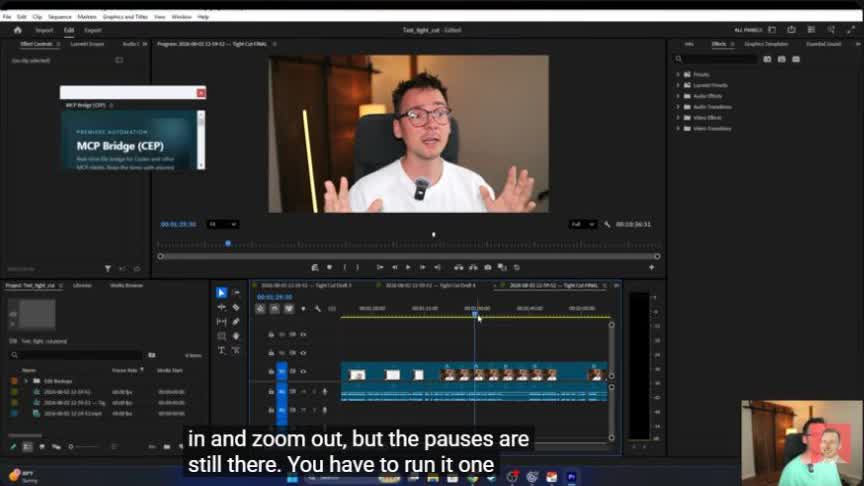
Restart Premiere Pro, open Window → Extensions → MCP Bridge (CEP), select the bridge directory shown by the installer, and start the bridge. Then ask Codex to run verify_premiere_connection without changing anything.
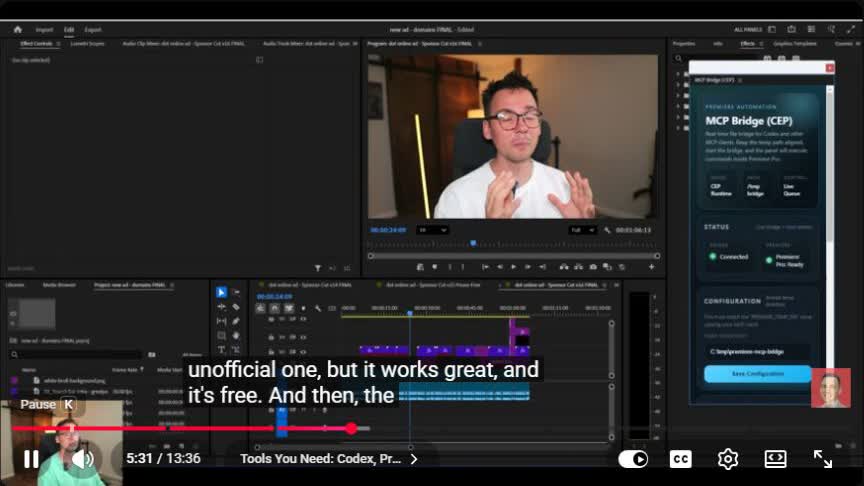
Use a duplicate sequence first. The bridge can make real changes to your local project. Save the project, duplicate the sequence, and test new prompts on the copy.
2. Install HyperFrames for animations
HyperFrames gives coding agents a structured way to build motion graphics, captions, callouts, and other video elements. Its current quick-start command is:
npx skills add heygen-com/hyperframes --full-depthThe repository includes a dedicated talking-head workflow as well as motion-graphics and general-video skills. In this tutorial, the practical use is straightforward: Codex can generate an overlay, render it, and place the finished media into the Premiere timeline through the MCP bridge.
3. Prepare the Premiere project
Open the project and place your raw talking-head footage on a timeline before you ask Codex to work. The agent performs better when the project already has:
- a clearly named active sequence;
- linked audio and video;
- the correct sequence size and frame rate;
- organized media bins; and
- a saved backup or duplicated sequence.
Do not begin with “edit this video.” Give the agent an editorial policy.
4. Use a conservative first-pass prompt
This is the prompt structure I would reuse:
Edit the active talking-head sequence.

Remove long pauses, filler words, repeated phrases, and obvious mistakes.
Preserve complete sentences and natural breathing room.
Keep linked audio and video synchronized.
Add subtle punch-in zooms or short visual interruptions only during talking-head sections.
Do not add zooms or overlays while I am screen-sharing.
Make a conservative first pass, then stop so I can review it.
The important word is conservative. If the first prompt encourages aggressive cleanup, the agent can remove useful pauses or cut the beginning and end of spoken thoughts.
5. Review the first cut like an editor
In the tutorial, the first long-form pass took roughly 31 minutes and reduced a 16:22 sequence to 10:37. That is useful—but speed and duration are not the quality test.
Watch the entire sequence and check:
- Does every sentence still make sense?
- Are there jump cuts in the middle of words?
- Did linked audio drift away from the video?
- Are pauses still present where the agent was too cautious?
- Are zooms used only where they improve attention?
- Did the agent touch screen recordings that should stay clean?
6. Give timestamped feedback
Broad feedback such as “remove more pauses” can make the next pass worse. A better correction names the exact range, the problem, and the desired behavior.
Review 1:17–1:44.

Several pauses remain in this section. Tighten them without cutting words or changing sentence meaning.
Keep audio and video linked.
Add one short animation where I explain the key idea.
Use the attached screenshot as visual context.
Stop after this range so I can review the result.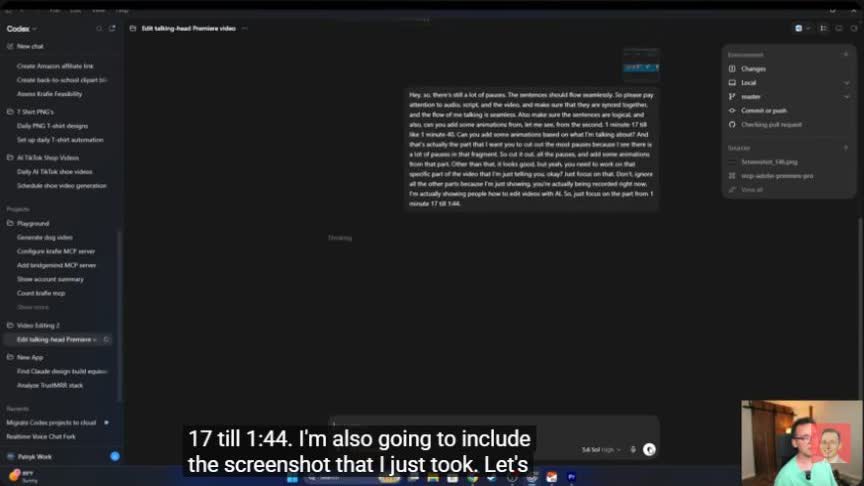
You can repeat this in short ranges until the edit is clean. It is less glamorous than a one-prompt demo, but it is much more reliable.
7. Save a reusable editing brief
Once the workflow produces a style you like, create an EDITING-RULES.md file in the project. Keep it short enough that the agent can follow it consistently.
# Editing rules

- Preserve complete, logical sentences.
- Remove filler words and dead air, but keep natural pacing.
- Never separate linked audio and video.
- Use punch-in zooms only during talking-head footage.
- Do not cover screen demonstrations with unnecessary graphics.
- Prefer one purposeful animation over several generic effects.
- Match the attached reference screenshots and videos.
- Stop after the first pass and wait for review.
- Never export over the master file.
This is where the workflow compounds. The next video begins with rules learned from the last one instead of starting from zero.
What Codex handled well—and what it did not
Strong: repetitive timeline work, silence cleanup, rough cutting, simple zooms, sequence inspection, and placing generated graphic assets.
Still needs judgment: pacing, comedic timing, emotional beats, whether a sentence should stay, graphic taste, and final quality control.
The Premiere bridge itself also has limits. Its repository notes that Premiere scripting does not expose every interface action cleanly and that professional title design still depends on real motion-graphics assets or external workflows. HyperFrames helps with that second problem, but it does not remove the need for creative direction.
Common mistakes to avoid
- Editing the only sequence. Always work on a duplicate.
- Asking for a finished video in one prompt. Use a rough cut, review, and correction loop.
- Removing every pause. Natural speech needs rhythm.
- Adding effects everywhere. Visual interruptions should explain or reset attention.
- Ignoring screen-share sections. Keep important interface demonstrations readable.
- Trusting the export without watching it. Review the final file from beginning to end.
Create the assets before you edit
This Premiere workflow is for assembling and polishing footage. If you also need AI product visuals, promotional clips, mockups, or an agent-connected creation workflow, use the Krafie AI Video Generator and Krafie MCP Server.
Krafie is a separate part of the pipeline: create or research the assets in Krafie, then use Codex and Premiere Pro to shape them into the final video.
The finished workflow
The practical version is not “AI replaces the editor.” It is:
- Prepare a clean Premiere sequence.
- Let Codex make the repetitive first pass.
- Review the cut with human judgment.
- Send exact timestamped corrections.
- Use HyperFrames for purposeful graphics.
- Save the successful rules for the next project.
That is how the agent becomes useful: not as a magic “edit” button, but as a fast operator working from a clear editorial system.
Related Krafie Guides